Need a wallet to collect your NSUR Coin, but not sure where to begin? Follow this guide to help you through the process on MetaMask
Want to move your NSUR Coin into a MetaMask wallet so you can use them to buy through merchants or to swap on exchanges?
NSUR has created this guide to walk you through the process. Just get your mobile device ready or prepare to download an extension into your favorite browser, and you will be done in a few minutes.
Jump to Sections:
Create a wallet in MetaMask on a mobile
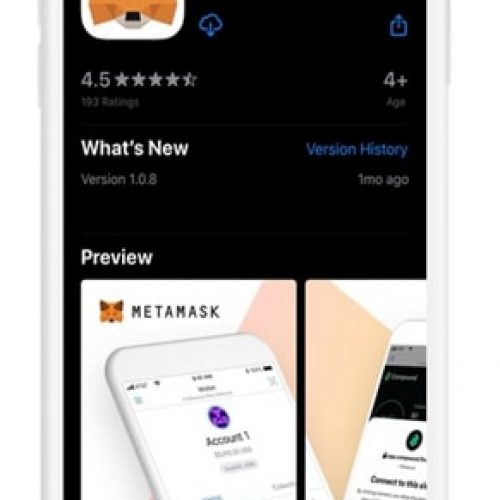
Step 1: Download the app
Visit the App Store or the Google Play Store, and download the MetaMask app.
Step 2: Create your wallet
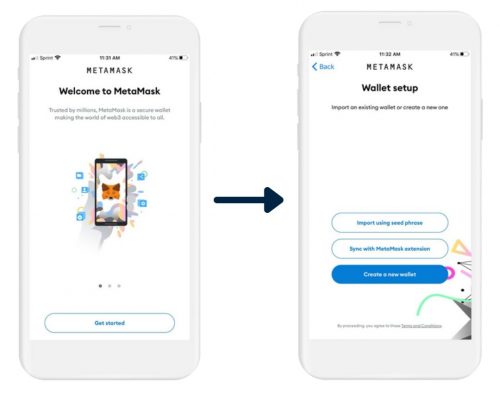
Open the app, and click “Get Started”, and select “Create new wallet”.
Step 3: Create a password
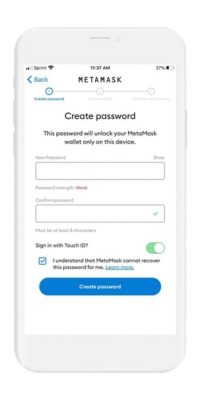
Create a password. Confirm the password, agree to the fact that MetaMask cannot recover the password, and tap ‘Create Password’.
Step 4: Secure your wallet
Prepare to secure your wallet. Upon clicking “Start” to start the process, click ‘View’ to see your secret recovery phrase. Make sure you write down your secret recovery phrase in a secure location. Do not take a screenshot of the secret recovery phrase. Tap ‘Continue’ once you have saved the secret recovery phrase somewhere secure.
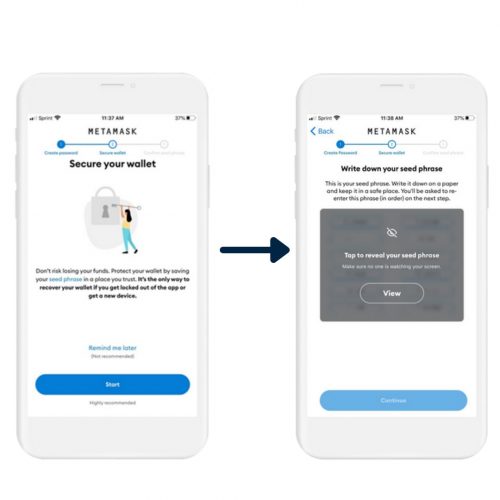
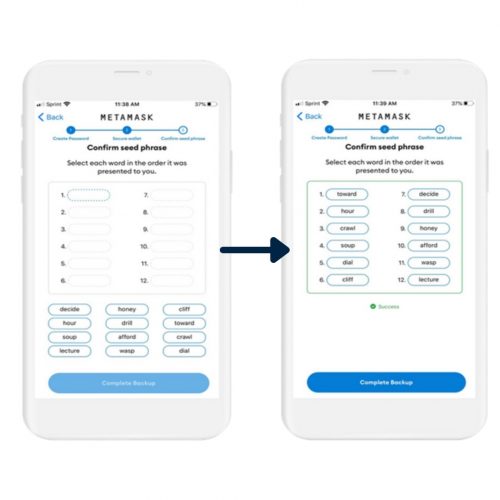
Step 5: Verify your secret recovery phrase
In order to prove you have saved your secret recovery phrase, you will need to input the phrase in the order in which you received it.
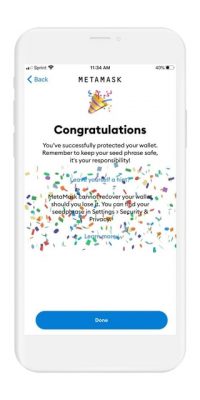
Step 6: Finish the set-up process
Tap “done” to complete the set-up process.
Create your wallet in MetaMask via an extension
Step 1: Visit MetaMask.io
Navigate to metamask.io. Click the “Download” button in the top right-hand corner of your screen. You will have the option of installing an extension for your favorite browser. We recommend Chrome, and the rest of this guide will focus on Chrome instructions.
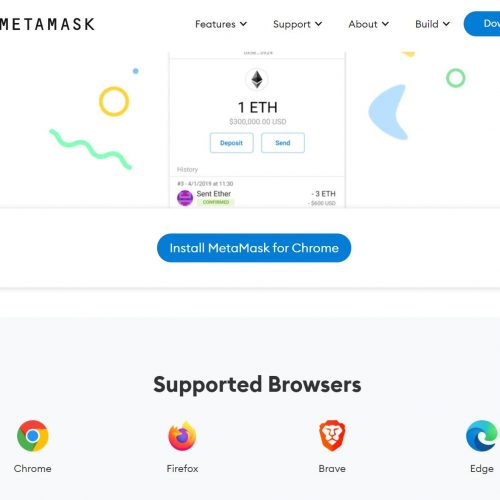
Step 2: Install the extension
Click “Install MetaMask for Chrome”, and once in the Chrome Web Store, click “Add to Chrome.”
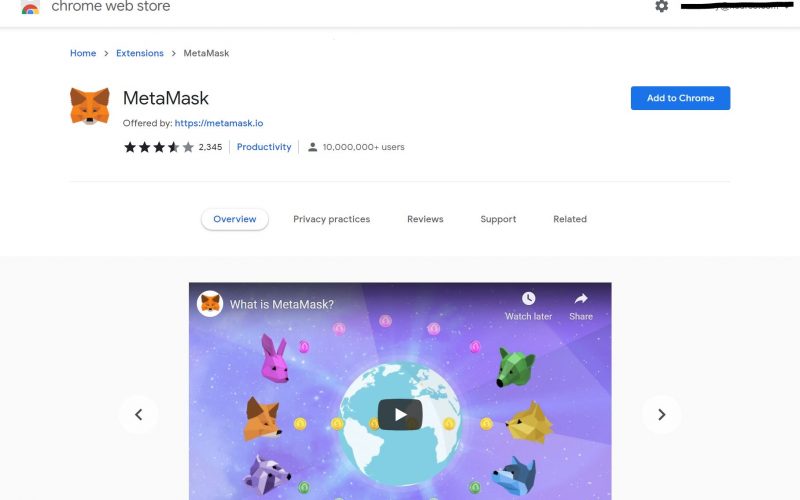
Step 3: Launch MetaMask
Click on the MetaMask icon in your extension bar in the top right-hand corner of your screen. This will open MetaMask. Click “Get Started” to begin creating an account and opening a wallet.
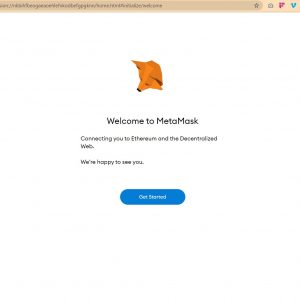
Step 4: Agree to MetaMask’s terms and set up a password
Choose the “Create Wallet” option and let MetaMask know if you are OK with it saving usage data about you.
You will then have the option of setting up a password. Type in the password you would like to use, and the verify it on the second line. Check the box on this page to agree to MetaMask’s terms.
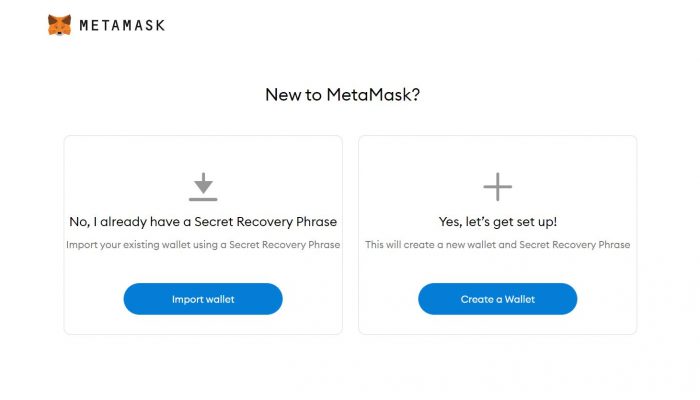
Step 5: Secure your wallet
Prepare to secure your wallet. Click on the lock to see your secret recovery phrase. Make sure you write down your secret recovery phrase in a secure location or save it on a encrypted external hard drive. Do not take a screenshot of the secret recovery phrase.
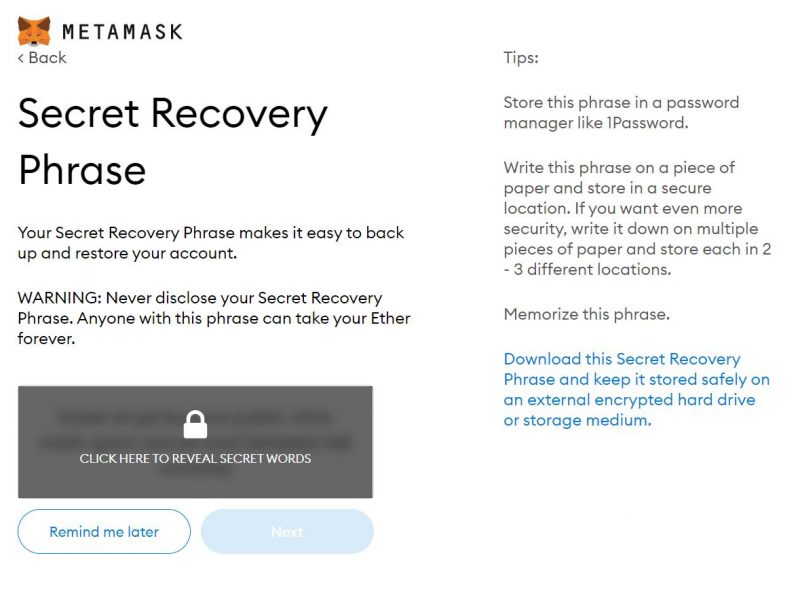
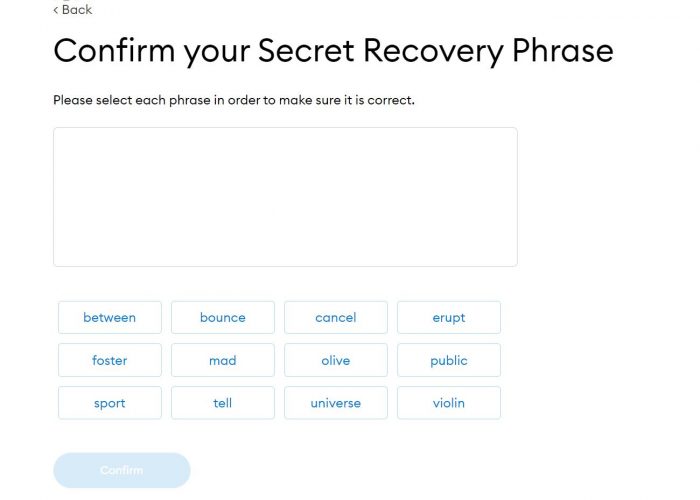
Step 6: Verify your recovery phrase
Once you have saved your secret recovery phrase, go to the next page and enter it in the correct order when prompted.
Step 7: Enjoy your MetaMask wallet
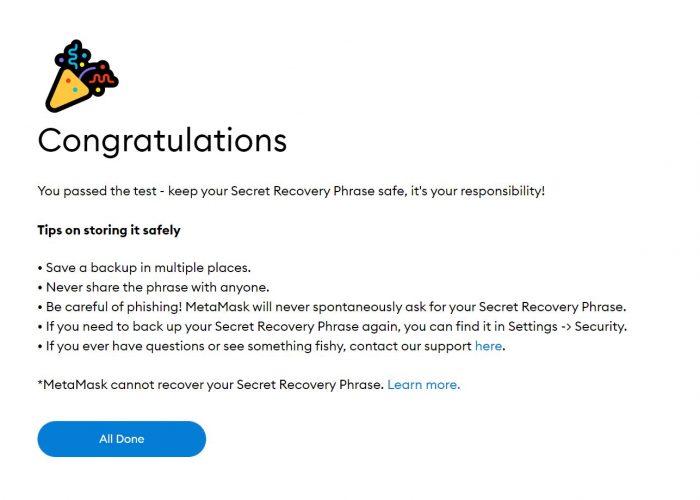
You have finished creating your MetaMask wallet — congrats!
Add NSUR Coin to your MetaMask wallet
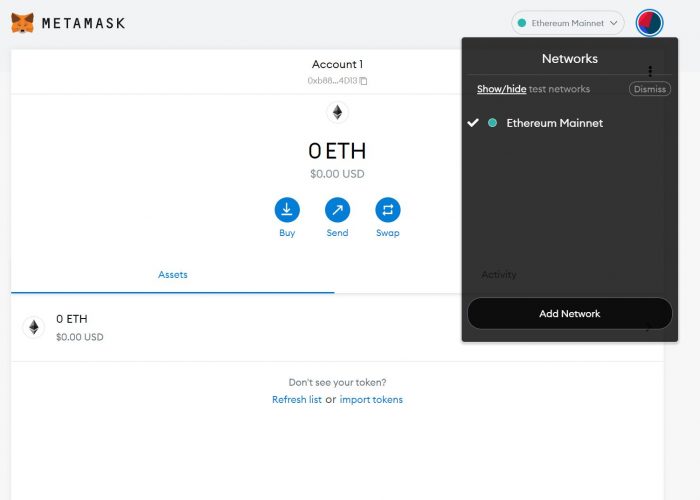
Step 1: Add new network
Go to the top right-hand corner, and click on the network drop down menu. Click “Add Network”.
Step 2: Input Binance network details
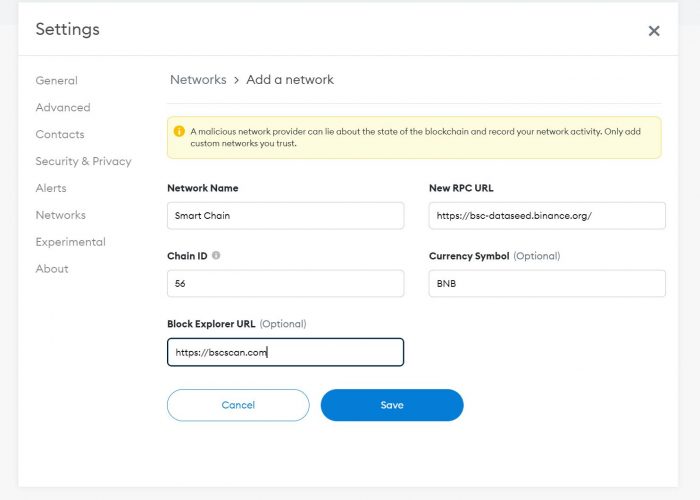
You will now need to fill in the form asking for the network details.
It’s important to note that there are two networks we can use here: the testnet or the mainnet. You want mainnet.
Binance Mainnet Network Details:
Network Name: Smart Chain
New RPC URL: https://bsc-dataseed.binance.org/
ChainID: 56
Symbol: BNB
Block Explorer URL: https://bscscan.com
Click “Save” to load the Binance network into your MetaMask wallet
Step 3: Add NSUR Coin’s token address to your wallet
You will need to manually add NSUR Coin to your wallet’s home page so that you can see the NSUR Coins you claim. Click “Import Tokens” to start this process.
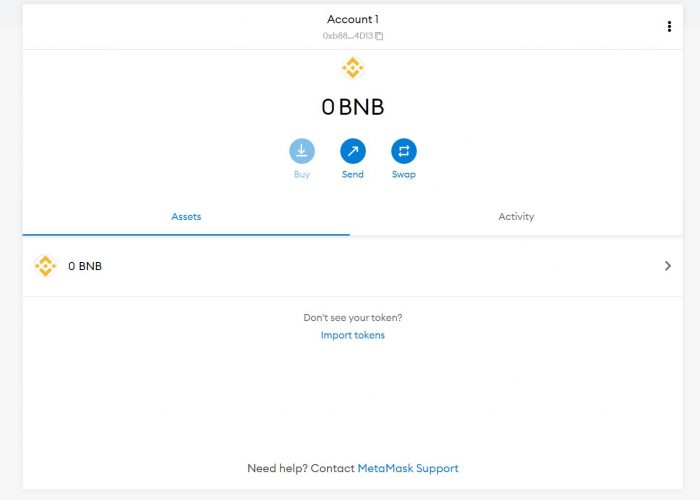
Step 4: Paste the token address into MetaMask’s custom token form
To do this, you will need to first copy NSUR Coin’s token address:
0x3c5fc9d51e99c26a6db1304f6c9dd10a85805ce5.
Once you have the token address copied, paste it into the “Token Contract Address” field. The other fields should autopopulate.
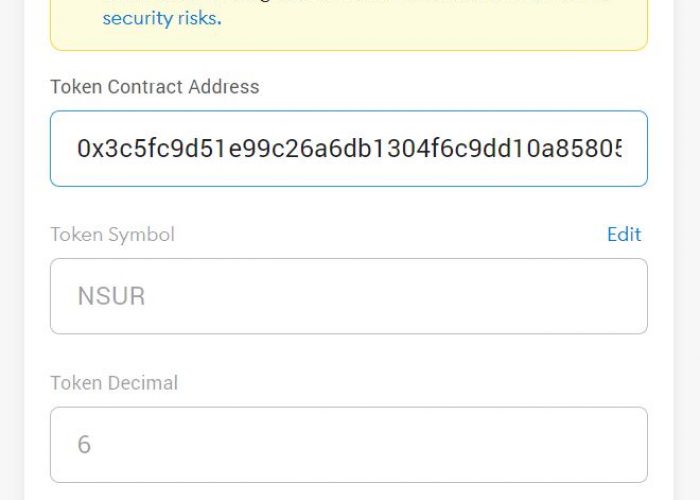
Step 5: Import NSUR
Confirm that NSUR has appeared on your screen, and click “Import Tokens” to finish adding NSUR to your wallet.
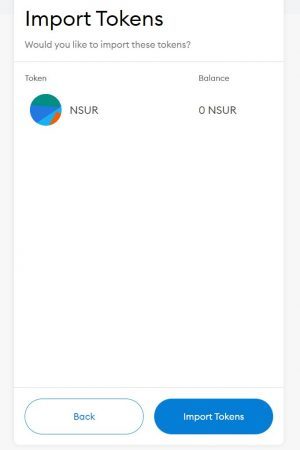
Step 6: See your NSUR Coin balance
Return to the home page of you wallet to see NSUR Coin amongst your other tokens.
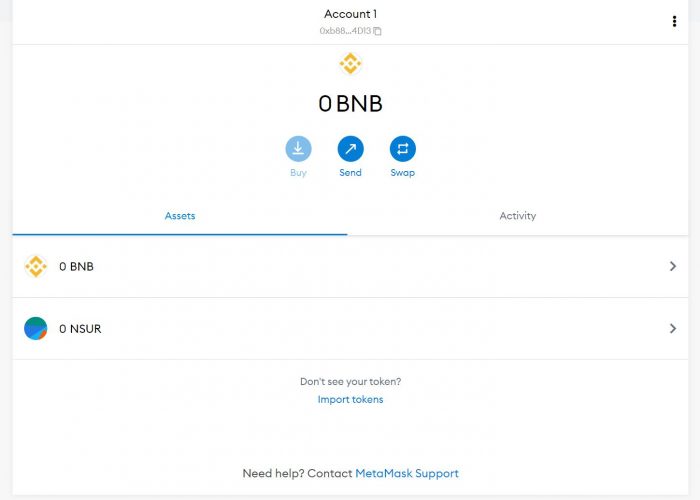
Claim Protected NSUR into your MetaMask wallet via extension
Step 1: Go to your Claims Dashboard
Open NSUR’s website, and navigate to https://nsurcoin.com/dashboard

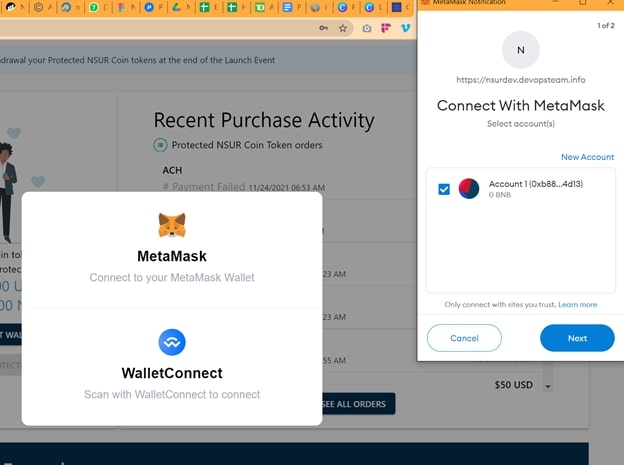
Step 2: Connect your MetaMask wallet via the extension
Once you are on the dashboard, click “Connect Wallet”.
To connect your wallet using the MetaMask extension that you downloaded previously, click “Connect to MetaMask Wallet” in the pop-up box that appears.

Step 3: Sense check the wallet address
A pop-up window will appear in the top right corner of your screen.
Tell MetaMask which wallet you want to connect to, and then click “Next”.
Then, confirm that MetaMask can connect, and click the “Connect” button.


Step 4: Withdraw Protected Tokens
Click “Connect Wallet” one more time to see the wallet address appear on your dashboard. Then, click “Withdraw protected tokens”.
You will be taken to your orders page, where you can then collect each individual order from your Orders table.

Step 5: Click “Claim Now”
On the Order table, you will see the orders you can claim into your wallet. Under the “Claim Status” column, click the “Claim Now” button.

There are many types of people who would likely benefit from statins:
- People who have very high LDL (“bad”) cholesterol: Your doctor can perform a simple blood test to determine how much cholesterol is in your blood. You are more likely to develop heart disease if your LDL (“bad”) cholesterol levels are high, especially those with other risk factors. Depending on your overall risk, your doctor may prescribe statins to help lower your cholesterol by a specific amount.
- People at risk of developing heart disease: If you have a high risk of heart disease or blood vessel disease, you will undoubtedly be prescribed a statin to help lower your risk.
- People diagnosed with heart disease: If you already have a blood vessel disease, you will certainly be prescribed a statin. Statins can help you avoid getting sicker. They can also help you avoid having another heart attack or stroke if you’ve already had one.
- People who have a genetic condition: If you have high cholesterol due to a genetic problem like familial hypercholesterolemia, you may be prescribed a statin to help lower your risk.
Step 6: Add NSUR’s Smart Contract
You will be presented with a screen asking if you have added NSUR’s Smart Contract to your wallet. If you have not, click “No, tell me how” and proceed to Step 7.
It is important to add the smart contract before you finish the claims process, otherwise, you will not see the tokens in your wallet after claiming them.
If you already have added the smart contract, click “Yes, I have” and skip to Step 9.

Step 7: Access MetaMask instructions
Click on the button “MetaMask” to view the instructions on how to add NSUR’s Smart Contract to your MetaMask wallet.

Step 8: Smart contract added
Click “Yes, I have” to let us know you added NSUR’s Smart Contract to your wallet and are ready to claim your tokens.

Step 9: Verify identity
Click on the “verify identity” button to verify your identity. This is an additional protection measure to ensure no one else can claim your protected token purchase.

Step 10: Enter the code
You will be texted a 6-digit verification code. Enter the code into the box, and click “Continue”. If you do not receive the code after 3 minutes, click “I haven’t received the code, send again.”


Step 11: Click “Claim Now”
Review the details of your claim, and click “Claim now”. This will start the claiming process. You must repeat the process for every order you want to claim.

Step 12: Tokens have been claimed
When you look at your order table, you will see that the tokens have been claimed. Visit your MetaMask account to see them in your wallet.
IMPORTANT: It may take up to 20 minutes to see the tokens in your wallet.


Claim Rewarded NSUR into your MetaMask wallet via extension
Step 1: Go to your Claims Dashboard
Open NSUR’s website, and navigate to https://nsurcoin.com/dashboard

Step 2: Connect your MetaMask wallet via the extension
Once you are on the dashboard, click “Connect Wallet”. To connect your wallet using the MetaMask extension that you downloaded previously, click “Connect to MetaMask Wallet” in the pop-up box that appears.

Step 3: Sense check the wallet address
A pop-up window will appear in the top right corner of your screen. Tell MetaMask which wallet you want to connect to, and then click “Next”. Then, confirm that MetaMask can connect, and click the “Connect” button.

Step 4: Withdraw Protected Tokens
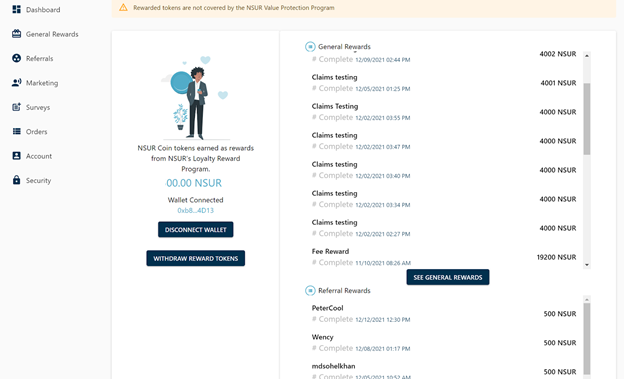
Click “Connect Wallet” one more time to see the wallet address appear on your dashboard. Then, click “Withdraw reward tokens”.

Step 5: Add NSUR’s Smart Contract
You will be presented with a screen asking if you have added NSUR’s Smart Contract to your wallet. If you have not, click “No, tell me how” and proceed to Step 6.
It is important to add the smart contract before you finish the claims process, otherwise, you will not see the tokens in your wallet after claiming them.
If you already have added the smart contract, click “Yes, I have” and skip to Step 8.

Step 6: Access MetaMask instructions
Click on the button “MetaMask” to view the instructions on how to add NSUR’s Smart Contract to your MetaMask wallet.

Step 7: Smart contract added
After you have added the smart contract, click “Yes, I have” to let us know you added NSUR’s Smart Contract to your wallet and are ready to claim your tokens.

Step 8: Get BNB Smart Chain
If you do not have BNB Smart Chain in your wallet, click “No”.
This will open a new article. Follow the steps in this article to add BNB Smart Chain to your wallet. You will not be able to claim your reward tokens without having BNB Smart Chain.
Once you have finished adding BNB Smart Chain to your wallet, click “Yes”.

Step 9: Claim rewards
A page will appear showing you all the rewards you can claim. Click “Claim Now” to claim your reward tokens.


Step 10: Pay Gas Fees
You will be prompted to pay gas fees to complete the purchase. Confirm in the MetaMask pop-up that you are willing to pay the gas fees and complete the reward token redemption process.

Step 11: Confirm receipt of reward tokens
After you complete the redemption process, you will see the tokens you just claimed changed from “Pending” to “Claimed” in the My Claims table. You will also see your reward tokens reduce to 0.00 NSUR on your Claims Dashboard.

