
CoinPayments provides businesses worldwide with the tools they need to accept cryptographic tokens like NSUR Coin and cryptocurrencies like Bitcoin, Litecoin, and Dogecoin. To set up a merchant account with CoinPayments, please follow these easy steps.
CoinPayments is a payment gateway, offering multiple cryptocurrencies with the ability to convert them into fiat currency.
The buyer’s experience is similar to that of PayPal or Bitcoin, complete with shopping cart plugins and instant confirmation of transactions.
Their API makes it easy for merchants to take advantage of CoinPayments’ features.

Jump to Sections:
Apply for a CoinPayments Account
To apply for a CoinPayments account, you will need to create an account and navigate through their application process.
Here’s how it works:
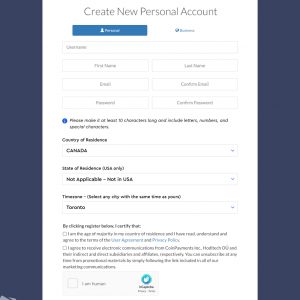
Step 1: Sign up for a Coinpayments account
Sign up for a CoinPayments account using this link.
When you’re signing up, make sure to select the “Business” plan.
You will need to provide CoinPayments with a valid email address and a point of contact for your company.
After you sign up, be sure to click the activation link in the email sent to the address you used to register.
Note: In order to log into your CoinPayments account, you will receive a 2FA code over email.
Step 2: Complete CoinPayments’ KYC process
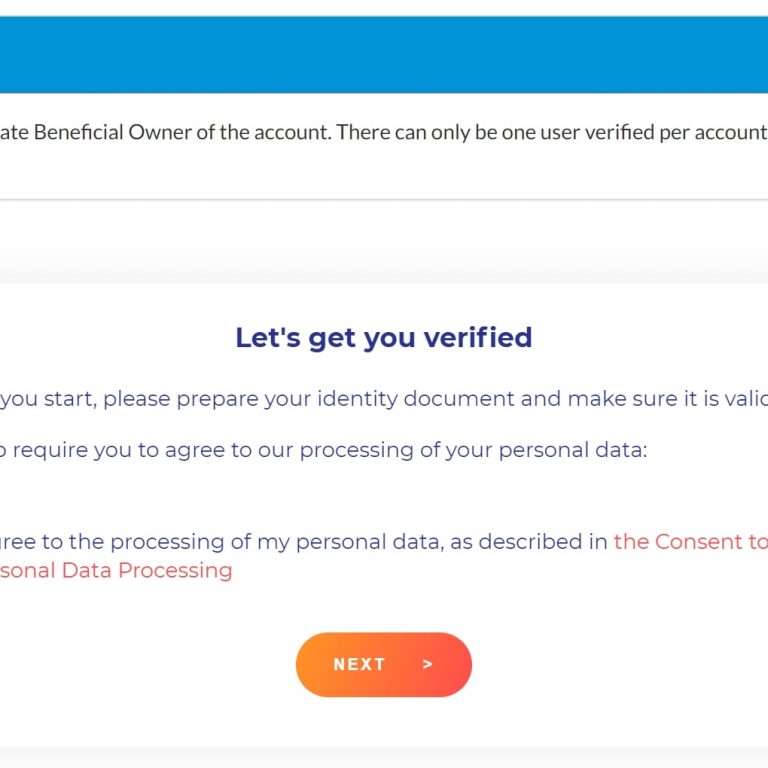
To use all of the features of your business account, you first need to verify your identity. To do so, go to “Account -> Account Settings -> Account KYC Status -> Verify Now”.
Click Agree and Continue. You’ll need to prepare an Identity Document of your choice: Passport, Driver’s License, ID Card, Residence Permit.
Before finally presenting your Proof of Residence, you’ll need to prepare a selfie. Here are some do’s and don’ts for getting your paperwork ready.
Finally, the KYC process will inquire about your contact information.
Please note that it can take several hours to complete KYC.
Connect CoinPayments to your website

CoinPayments is one of the best and most effective cryptocurrency payment processor, allowing users to accept multiple currencies on their eCommerce platform without any hassle.
This section is to help you integrate CoinPayments with your website, using Shopify as an example.
Step 1: Locate your Merchant ID
Your Merchant ID is a unique identifier that CoinPayments gives your account. You will need to reference this unique identification number to connect your account to your shopping website.
To locate your merchant ID, go to “Account -> Account Settings”.
From there, select “Basic Settings” in the menu that appears on the left side of the page.
Once you have done so you will see your Merchant ID. You can save it or copy it for later use.

Step 2: Create your IPN Secret
The IPN Secret is essentially an additional password for your account.
In the “Merchant Settings” tab, you can edit your IPN Secret (this can be any strong/random string of characters). It is blank by default.
Once you have put in your IPN Secret phrase, save your changes and copy/paste this information somewhere for later use.
Step 3: Connect CoinPayments to your shopping website
Go to your Shopify account. Click the “Settings” menu. Select the “Payment Providers” menu option.


In your eCommerce storefront, scroll down to the “Alternative Payments” box and select “CoinPayments” as the Additional Payment Method.

Click the “Edit” button, enter your Merchant ID and IPN Secret in the appropriate fields, and click “Save”.
Enable NSUR Coin as a method of payment
Once you have connected CoinPayments on your website, you can start to accept payments using NSUR Coin.
Step 1: Go to Payment Settings and choose NSUR
To start accepting NSUR Coin as a payment method in your store, you must enable it in your Payment Settings.
You can select the coins you want to accept as payment from the “Account” -> “Coin Acceptance Settings” page.
Select “NSUR” and any other crypto you want to accept by checking the box in front of each coin.
Step 2: Enable NSUR as a payment method
Once you have a complete list of desired crypto, scroll all the way to the bottom of the page and click “Update Coin Preferences”.

Step 3: Set up your API Keys
Adding an API key to your store is a crucial step in connecting it with the CoinPayments payment system. Here’s what you need to do to link your store with CoinPayments:
Go to your “Account -> API Keys” page. The key that’s already there is the key you can use. If you want to generate a new key, click the “Generate New Key” button.
 (2)")
You can now save your API public and private key in a text file and use them later if you need to.
Enable currency conversion and payment forwarding in your CoinPayments payment settings
By default, CoinPayments will automatically convert the total cryptocurrency amount of your incoming payments into the currency you’ve selected as a preferred payout currency.
You can also manually set a preferred conversion rate for each of your accepted cryptocurrencies in your Payment Settings. This section shows you how.
Step 1: Go to the “Coin Settings” tab
Navigate to the Coin Settings tab on the dashboard after logging back into your CoinPayments account.
Step 2: Select your Crypto
Locate the coin you want to enable and select Payout Mode from the drop-down menu next to it.

Step 3: Select your Payout Mode option
The following are the Payout Mode options:
- To Balance: Payments are saved in your CoinPayments wallet and can be withdrawn whenever you want.
- ASAP: As soon as your payment is received and confirmed, it is sent to the address you specify.
- Nightly: Payments are grouped together and sent out on a daily basis (at approx. midnight EST). Instead of paying a separate fee for each transaction (as with ASAP), you only pay a single fee for the entire group.
- To Balance + Convert: Payments are converted to the coin of your choice and stored in your CoinPayments wallet. If the amount received is too large to convert at current market volumes, you may instead receive the original currency.
- ASAP + Convert: Payments are converted to the chosen coin and sent to the specified address. In some cases, such as when the amount received is too large to convert at current market volumes, the original currency will be delivered to your CoinPayments wallet instead.
Step 4: Confirm the change
Click the Update Coin Preferences button at the bottom of the page.
Enable fiat settlement in your CoinPayments payment settings
CoinPayments has made things simpler for you by introducing fiat settlement in your payment settings. This means that you can now send fiat currency directly to your biller’s bank account after settling them with CoinPayments.
Here is how you can do it:
Step 1: Go to the ‘Fiat Settlement Section’
Go to Account -> Coin Acceptance Setting -> Fiat Settlement after logging into CoinPayments. After that, choose the fiat currency you’d like to use. (We’ll use the United States as an example.)
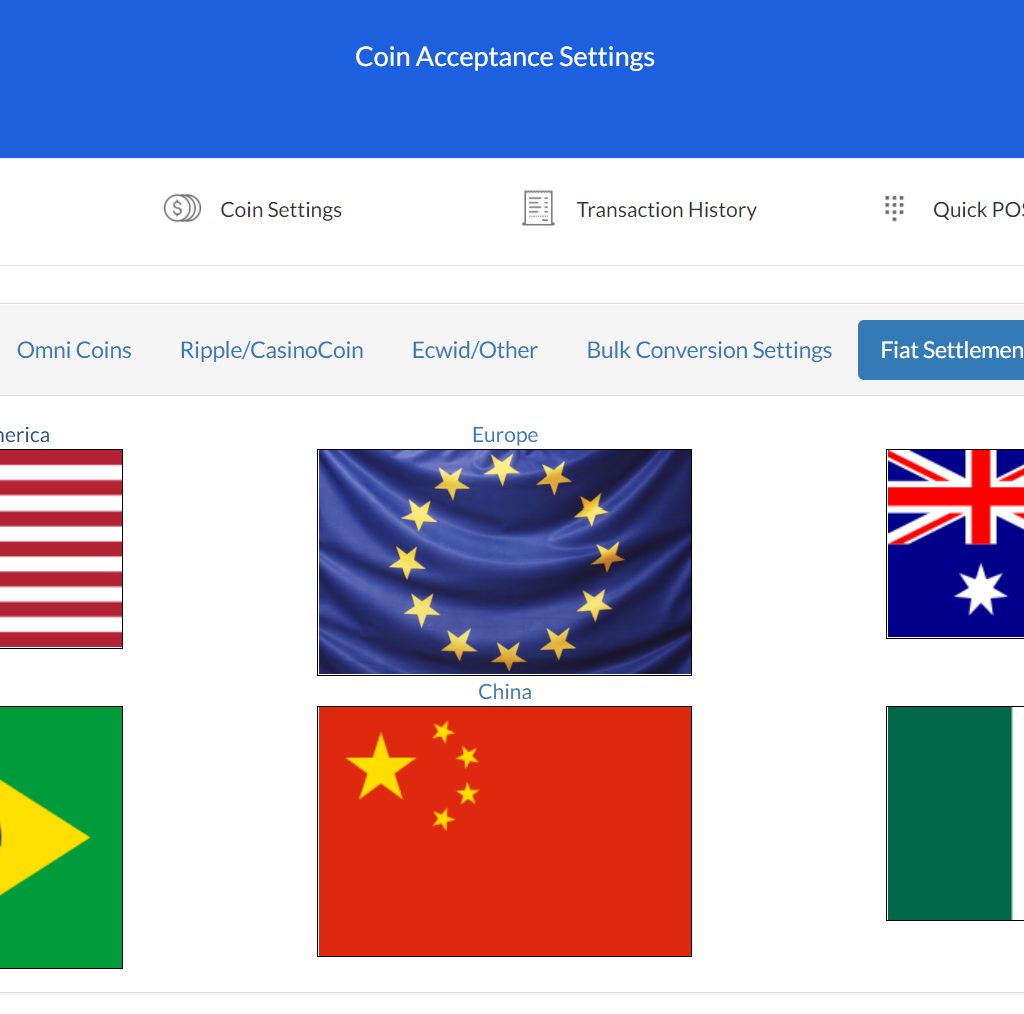
Step 2: Choose your country
CoinsPayments has integrated various fiat settlement services, making it possible for merchants to convert (in real time) their incoming cryptocurrencies into Euros, Chinese Yuan, Australian Dollars, and many more. Coinmotion is used to settle payments into EURO, and Wyre is used to settle payments into nine different fiat currencies.
Step 3: Apply for your fiat currency service provider
Once you have identified your preferred service provider, apply for an account on their website. This process can take up to 1 month to complete, depending on the option you choose.
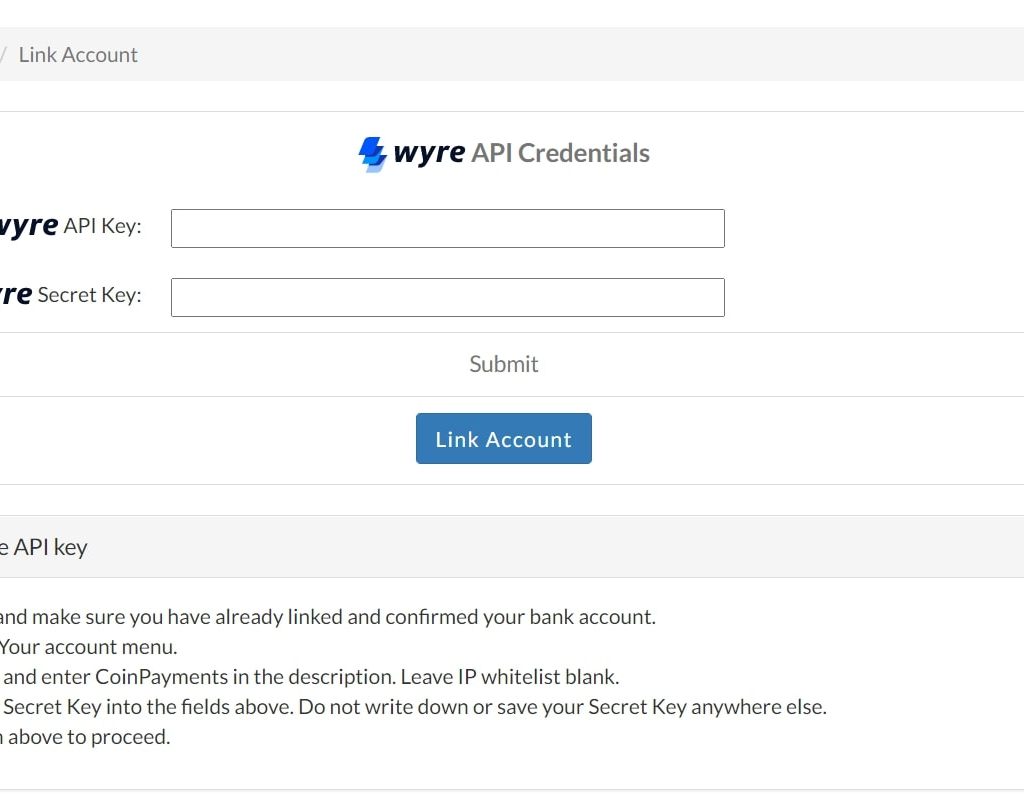
Step 4: Make sure that the CoinPayments plugin is active on your site
Go to Your Account -> API Keys after logging into Wyre. Leave the IP Whitelist field blank when adding an API key. Input your Wyre account’s API and Secret key into your CoinPayments account.
Common Questions and Answers
How does Coinpayments work?
CoinPayments is a payment platform that allows merchants to accept bitcoin and hundreds of altcoins in their stores via easy-to-use plugins, APIs, and PoS interfaces.
How do I get a merchant ID for CoinPayments?
Your Merchant ID can be retrieved on the CoinPayments.net website. Log in and select My Account, then Account Settings, then Basic Settings to retrieve your ID. Next, go to Merchant Settings to create a unique IPN Secret of your choice.
How do I transfer crypto to CoinPayments?
Simply click the “Send/Withdraw” button under “Your Wallets” on Coin Payment’s home page, and a pop-up window will appear. Then, select the crypto currency of choice and enter your withdrawal details!
How do I convert coins to CoinPayments?
Select Balance + Convert if you want to show the converted amount immediately in your CoinPayments wallet OR select ASAP + Convert if you want to specify an address for the converted coins.
How do I get a refund from Coinpayments?
Coins will be refunded for the same amount that was deposited, less a network/transaction fee. The refund must be collected within 90 days or the refund option will expire, and you must pay two times the network/transaction fee to collect your funds. You can learn more here.


